VanKookz is home of Dani & Kevin. They share van conversion tips, vanlife hacks, vlogs of their travels and travel tips. One their website they have various DIY van conversion step-by-step guides to download.
Visit them online at www.VanKookz.com
-

Landscaping My Homestead Using Only Natural Materials
-
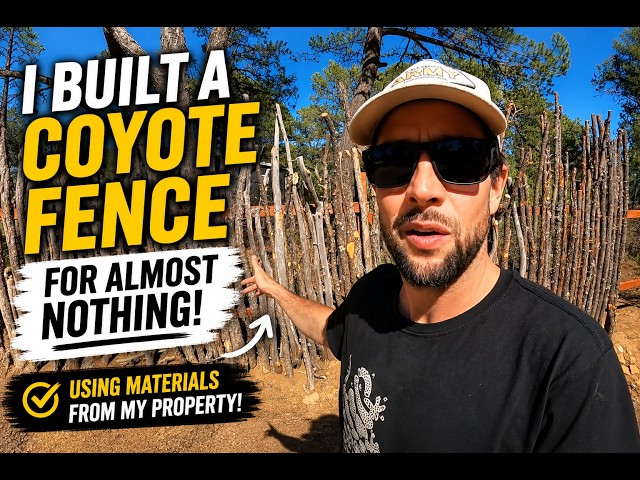
I Built a Cheap Coyote Fence Using Materials From My Property
-

Pamapic Grain Outdoor Dining Set Assembly and Review
-
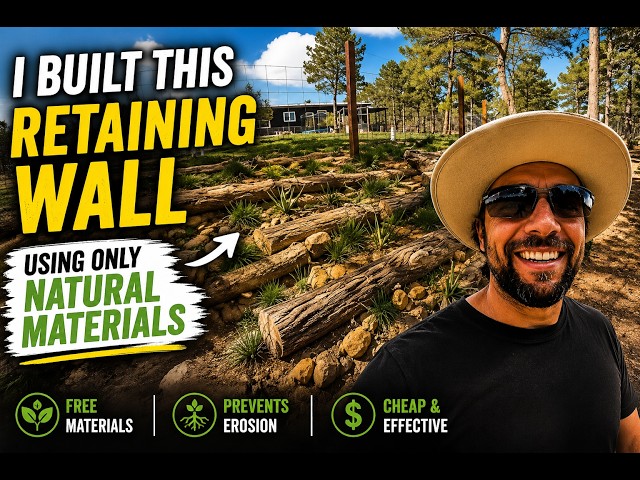
How I Built a Natural Retaining Wall for Free on My Homestead
-

$300 TEMU Pergola Review & Assembly | Surprisingly Worth It?
-

How I Solved Water & Septic on My Homestead (Without a Well)
-

DIY Heated Barn Cat House Build | Safe Outdoor Shelter for Working Cats & Mouse Control
-

Shower Water Not Getting Hot? How to adjust Your Temperature Limit Stop
-

Costco Mirador Pergola Review (7 Months Later) | Easy Alternative to Building a Pergola
-
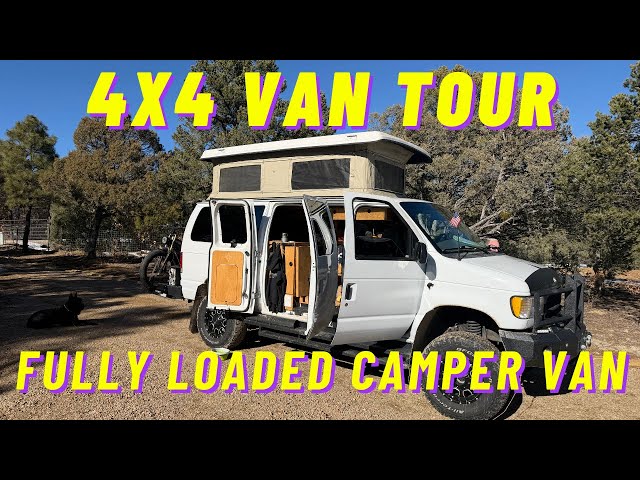
DIY 4x4 Van Conversion Takes Retired Captain Coast to Coast
-

Barrel the puppy loves the blower. Nothing gets done around here… #puppy #funny #cute #funnypuppy
-

Our #americanbully “Barrel” comes barreling through the fresh powder. #pitbull #puppy #cute